
Nothing's scarier than a sudden computer crash and a loss of precious data residing on it. It can happen both on old and new devices. You never know when hardware will fail. The best way to deal with this situation is to backup your PC's entire hard drive to a remote location from where you can restore it, whenever needed. Manually doing it to general-purpose cloud storage services is a herculean and stressful task. In this approach, there's no restoration option. Fortunately, there are several such services that can be used for exactly this purpose. Let's check out these backup solutions, one-by-one.

You need to have a stable and high-speed internet connection for this backup configuration to work correctly and efficiently. If your computer is not connecting to wi-fi, expect some issues. Slow connections may lead to data corruption and an inability to restore the data.
These backup services are very reliable and work seamlessly protecting your computer's data day and night. These services run in the background leaving a very light footprint on your system's resources. You could also consider migrating your data and you could start by searching data centre migration services in your browsers or try Dataknox'es IT asset management services.
Backblaze Personal Backup
The first backup solution I'm mentioning here is the one I use personally. It's very popular among freelancers, developers, and designers. With tons of features, you get an affordable and reliable backup solution for your computer.
Backblaze Personal Backup service is easy-to-use and relieves you from the worry of data loss. It's available both for Mac and PC.
To get started, sign up for a free Backblaze account and download the application. Install it on your computer and open it.
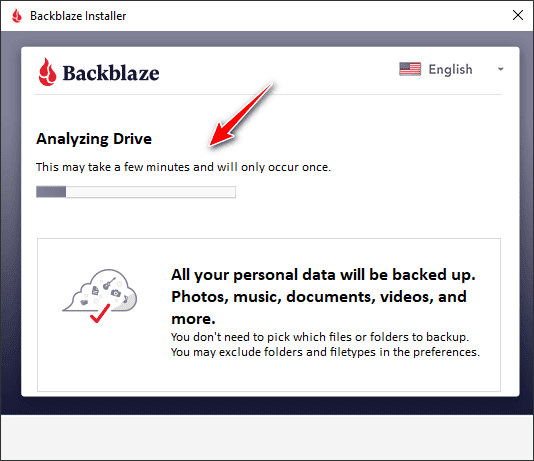
During the installation phase, the application analyzes the hard drive to find the data and files it needs to backup. It's a one-time process and may take some time if your hard drive has a large number of files.
Once the analysis phase is complete, the installation completes and the backup starts automatically. You can see the statistics (see image below) of the backup operation, whenever you want.

The backup statistics show the number of files to backup, their size in megabytes as well as how many of them are already stored on the cloud. The backup scheduling preference is also shown in this section.
You can also customize what to backup and how to backup. To do that, click the Settings... button.
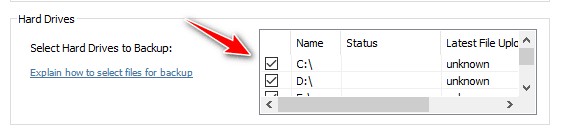
In the Settings tab, you can find the Hard Drives section. Here, you can select and deselect the hard drives you want or do not want to be backed up.

Another important setting to customize is the scheduling of the backup. Go to the Schedule and select the best backup scheduling approach that fits your needs. By default, continuous backup is taken without any breaks. You can also select the manual approach or once-a-day backup.
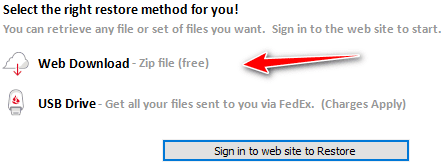
To restore data, click the Restore Options... button and select the restoration method. You can either restore through the web interface download of files or can order a USB drive delivered via an express courier service.
This backup and restoration service doesn't impose any limit on the amount of data you can backup. It's an automated and powerful way to silently back up your entire PC files on a secure cloud storage account.
CBackup
The next backup solution is CBackup. It's equally powerful, reliable, and packed with tons of features to give you peace of mind about your data and files.
Through this backup solution, you can backup your data and files to multiple cloud storage services and use them as a single large remote drive.
To get started, create an account on its website. Now, download and install the CBackup application on your computer. Start the application and punch in your account credentials.
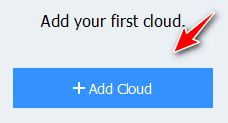
Click on the Add Cloud button to link one of your preferred cloud storage services with the application.
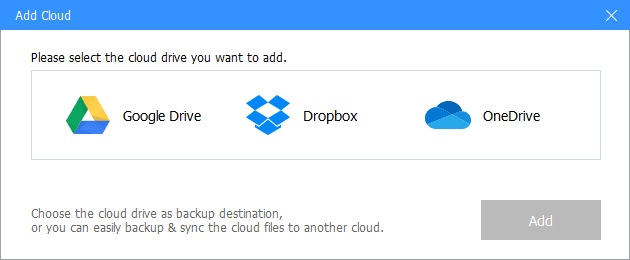
Select one of the cloud services you want to link and follow the linking procedure. Once the authorization and linking process is complete, you'll be presented with the following window.
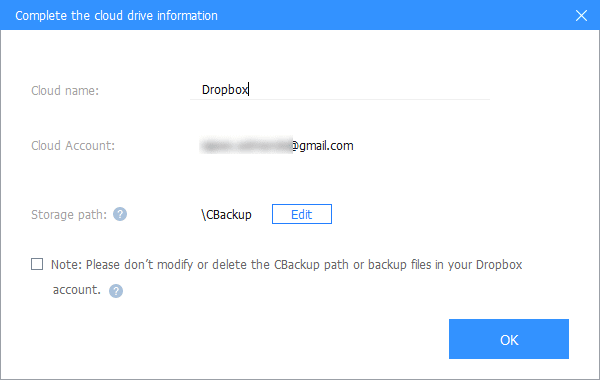
Give this linked account an appropriate name. The default name provided by the application is good enough for most cases. You must also provide the folder name to be used for backup in your cloud account.
Once again, the default folder name provided by the application is good enough in most cases but you're free to change it if you want to. Click on the OK button to complete the linking process.
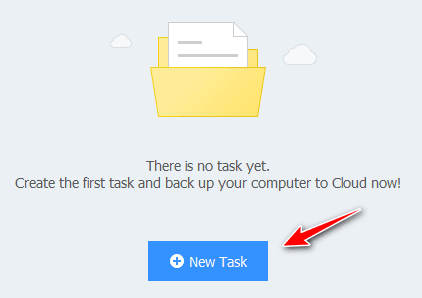
Now go to the Backup Tasks tab and click the New Task button.

Next, select the back source. In most cases, it's almost always your local files. But, you're free to choose the source as you wish. Once the source has been selected, click the Next button.
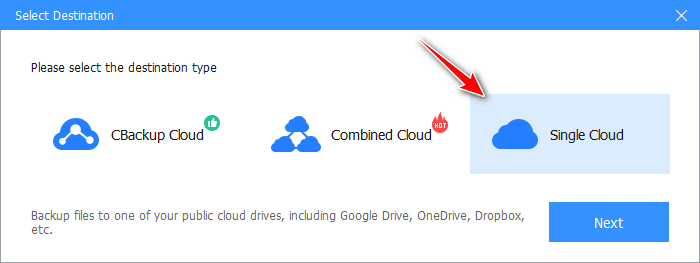
The next step involves the selection of the backup destination. Select Single Cloud in case you just want to store your backup data to a single cloud service account.
In my case, it's Dropbox which I've selected in the next step.
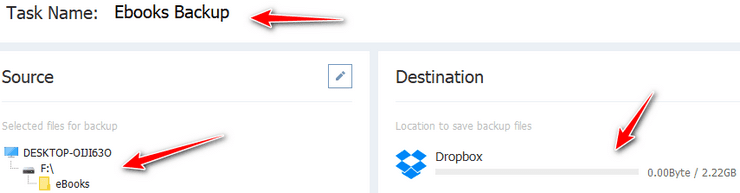
Finish the task configuration task by providing both the source and destination for the backup process. In this example, I've selected the eBook folder on the secondary drive and the linked Dropbox account.

Finally, you can click the Start Backup button to kickstart the process.

To automate the backup task, you can select the scheduling option in the task settings. Here, you can configure the backup schedule as per your needs. Feel free to fine-tune this setting to match your work schedule.
If your backup is large, I'll recommend using its Combined Cloud option to merge the storage space of multiple cloud services into one.
