
 A thing to take care of while using your Android phone as a webcam is to put it in a Do Not Disturb mode else your video streaming session may stall if a call arrives at the same time.
And, make sure you've charged your phone's battery to 100% before initiating a long video streaming session. Let's first discuss some of the important accessories needed for this setup. So, here we go!
The first thing you need is a USB cable to physically connect your phone to your PC or a laptop. Though one can configure the connection through Wi-Fi too it's unreliable and doesn't give the best results.
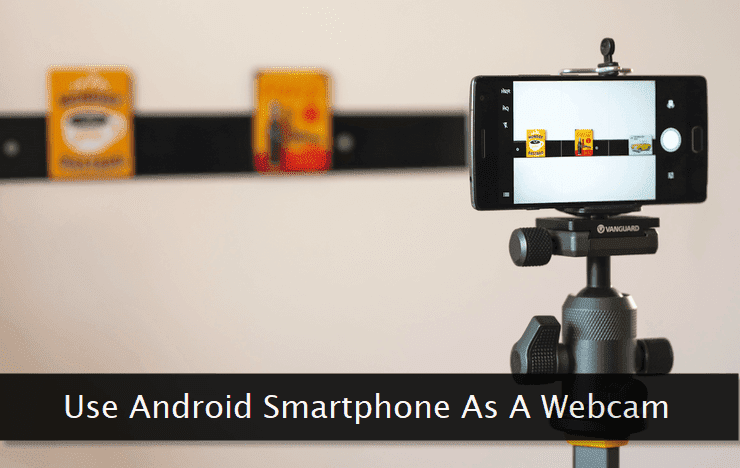
The next important accessory you need is the smartphone holding clamp to make sure it's placed right on top of your computer's monitor. There are several options for the same. The best one is mentioned below.
 Phone Holder Bed Gooseneck Mount - Lamicall Cell Phone Clamp Clip
And, the last accessory (though not mandatory) is a microphone. If you're concerned with too much background noise from where you're streaming the video, this one is required.
 Lavalier Microphone, MAONO AU-100 Hands-Free Clip-on Lapel Mic
First of all, you need to enable the USB Debugging feature on your smartphone. Here's how to do it.
Depending on your smartphone model, the path to find the USB Debugging option may differ a bit, but more or less, the section where you can find it is the same on all the phones.
First of all, go to the Settings → About Phone option.
 Thereafter, go to the Version → Build number option. On some phones, you have to go to the Software Information → Build number option.
 Now, tap on the Build number option 7 times to enable the debugging option.
Depending on your phone model, the developer options will be available either within the Settings → Developer Settings → USB debugging section or as in the case of my phone, it is available on the Additional Settings → Developer options → USB debugging path.
 Once USB debugging has been enabled, it's time to install the DroidCam app on your smartphone. Thereafter, install the DriodCam client for your PC too.
Now open and start the DroidCam app. Once activated, you can see the connection's IP and port statistics as shown below.
 Note down the IP and port number as you'll need them to be punched in the desktop client of DroidCam while establishing a connection. You can select the front or back camera within the DroidCam settings.
Now, connect your smartphone with your PC through a USB cable and start the DroidCam client on your PC.
 After connecting the USB cable, in a few seconds, the connection option will be available in the drop-down menu. Simply open the dropdown and select your device connected through the USB cable.
 If you don't have a USB cable, you can opt for a connection through the WiFi network. Select the WiFi option as shown above and punch in the IP and port details you may have noted as mentioned in one of the earlier steps.
Once connected, you'll see the video preview in your desktop client. Simply minimize it and open the application where you want to use your smartphone as a video source.
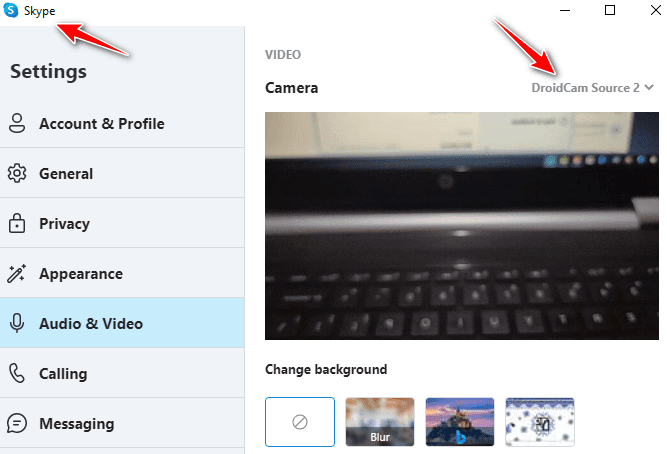 For example, here I've used the Skype application for demo purposes. You can see, I've selected DroidCam as the camera source in its settings menu. Whichever application you're using, you can do the same.
Selecting HD mode in the DroidCam client needs a computer restart. It gives you HD quality capture provided your smartphone has the necessary camera specifications to do it.
Remember, connection through a USB cable is fast with good picture quality. Connection through WiFi may exhibit some latency and slightly lower picture quality.
Affiliate Disclosure: Fresh Tech Tips may receive a small commission from purchases made through our links. This helps us keep the lights on and continue providing you with valuable tech insights and recommendations. Read More
