
Though most Windows versions offer custom power plans, we're more focused on Windows 10 in this guide. Power plans are a way to instruct your Windows PC how it should behave or work when either on electric power or on battery power. Although the default power plan is generally good enough for most users, you may feel the need to customize it to suit your needs or requirements. And, that's exactly what we're going to learn in this tutorial. You can either customize an existing power plan or can create a new one from scratch. We'll check out both, but our focus will be the latter approach. Let's get started.

These custom power plans are generally required by laptop users as desktop ones are regularly on AC power. If you fall in the former category, you're going to benefit immensely from this guide.
While creating a custom power plan, always first analyze your requirements. This way, you'll be in a better position to come up with a customized power plan that'll add more depth to your daily workflow.
To get started, open the Window search box by pressing the Windows + S key. Now type in power and sleep in the search box.
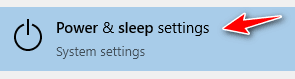
Click the Power & sleep settings option to open the respective settings page.

On this page, on the right side in the sidebar, you'll find the Additional power settings link. Click it to open the Power Options window.
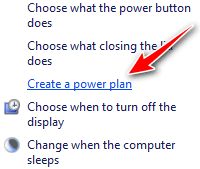
Because we're interested in creating a custom power plan for our PC, click the Create a power plan option present on the left side in the sidebar.
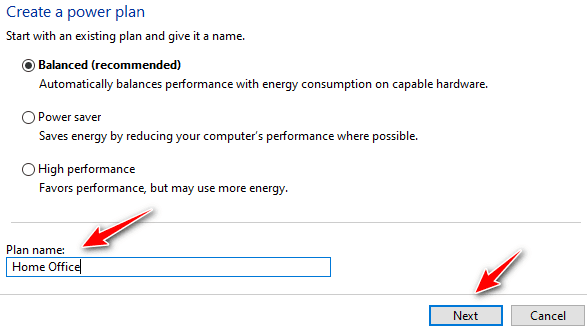
Upon clicking that option, you'll get a power-plan-making wizard. Here, first, you can provide a custom name for your power plan. For example, I've given it the name of Home Office but of course, you're free to give it your desired name. After providing a name for the power plan, click the Next button.
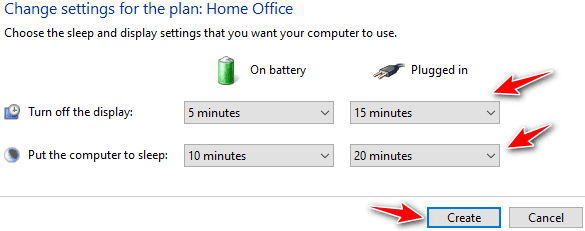
The next screen enables you to customize the idle time duration for the computer to either go to sleep or to turn off its display. Feel free to choose your desired settings from the dropdown boxes.
You can customize these settings both for AC power and when the PC is running on a battery. Finish the process by clicking the Create button.
Once your custom plan has been activated, you can fine-tune its properties through the advanced settings. To do so, click on the Change plan settings option as shown in the image above.
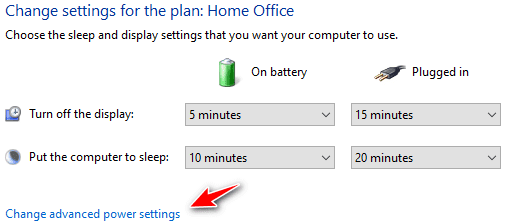
Now click the Change advanced power settings option. You'll get the advanced settings windows where you can find a lot of options to customize that directly affect your custom power plan.
Let's check out some of the most important advanced settings we can customize to get a better experience from our custom power plan.
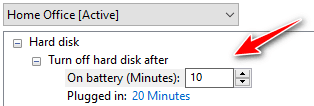
You can customize when your PC's hard disk or the primary storage device should turn off when it's put to sleep. You change the time duration for both the AC power and battery.

Another important setting is related to the desktop background. If you're using animated backgrounds or a slideshow of the desktop backgrounds, you can disable them on batter power as shown above.
Feel free to either disable or enable the animated background for both the power modes.

Another critical setting you may want to configure is the way your WiFi card or your WiFi signal works when your PC is on battery power. Feel free to experiment with this setting to make sure your battery lasts longer through optimum settings for the WiFi card functioning.
There are several other options to customize the display, USB, processor, and several other settings. Feel free to try out the best combination for your custom power plan.
This tutorial was aimed to give you a general idea about the creation and customization of a custom power plan. The exact settings of all the options depend on your needs and requirements.
